
After my recent house freakout (We need to move! Wait! Nevermind, I love this house!), I’ve spent a good bit of time rearranging and tweaking our home. I’ve thought about what we need in each room, what improvement would make it what we need to be able to fit a six-person homeschooling family into this 3/br 1/bath 1250 sq ft house for the next few years. I’ve been reading about the concept of … [Read more...]
Our Chalk Paint Kitchen Cabinet Reno (And Free Stuff for You!)
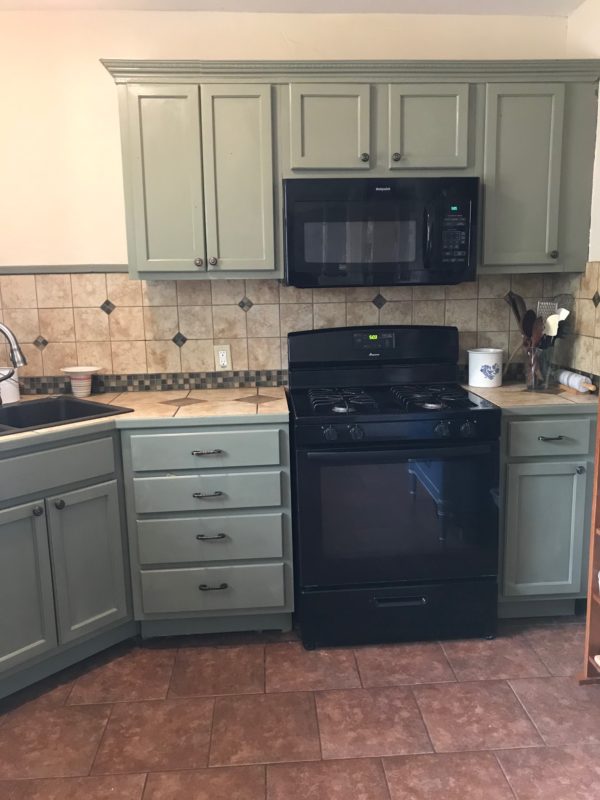
We JUST put the finishing touches on our cabinet painting project! When we moved into our house in Waco two years ago the one thing I knew I HAD to change was the cabinets. They were an awful cherry stain that clashed horribly with the backsplash and floor tile. Ready for the before pic? See?! The bizarre combination of kitchen components made me wonder if the people who flipped the house … [Read more...]
Simple Homemade Recipe for Lip Balm, Hand Salve, and Beard Wax
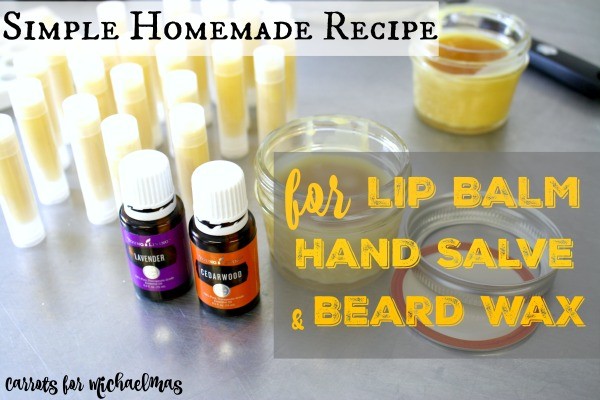
My husband Daniel whipped some of this up recently and it's fantastic! So I nagged used my dulcet tones to convince him to guest post here at Carrots to share his recipe. Lucky for you, he's an obliging sort! -Haley I’ve used beard wax for several years. Mostly just beeswax and oil, beard wax helps a beard keep a good shape, gives a beard a nice sheen, prevents split ends, and … [Read more...]
5 Ways to Jumpstart Change In Your Life

Do you read Olivia at To the Heights? You should! I've been an Olivia fan for awhile and when she recently posted the Total Life Overhaul series at her blog (so good!) I knew I needed her to guest post and share about the simple but wonderful ways her family has sought order in the chaos while they transition into parenthood. Enjoy! -Haley The kitchen table was sticky from stray honey that had … [Read more...]
In Which Daniel Reviews a Book on Sewing (and a Giveaway!)
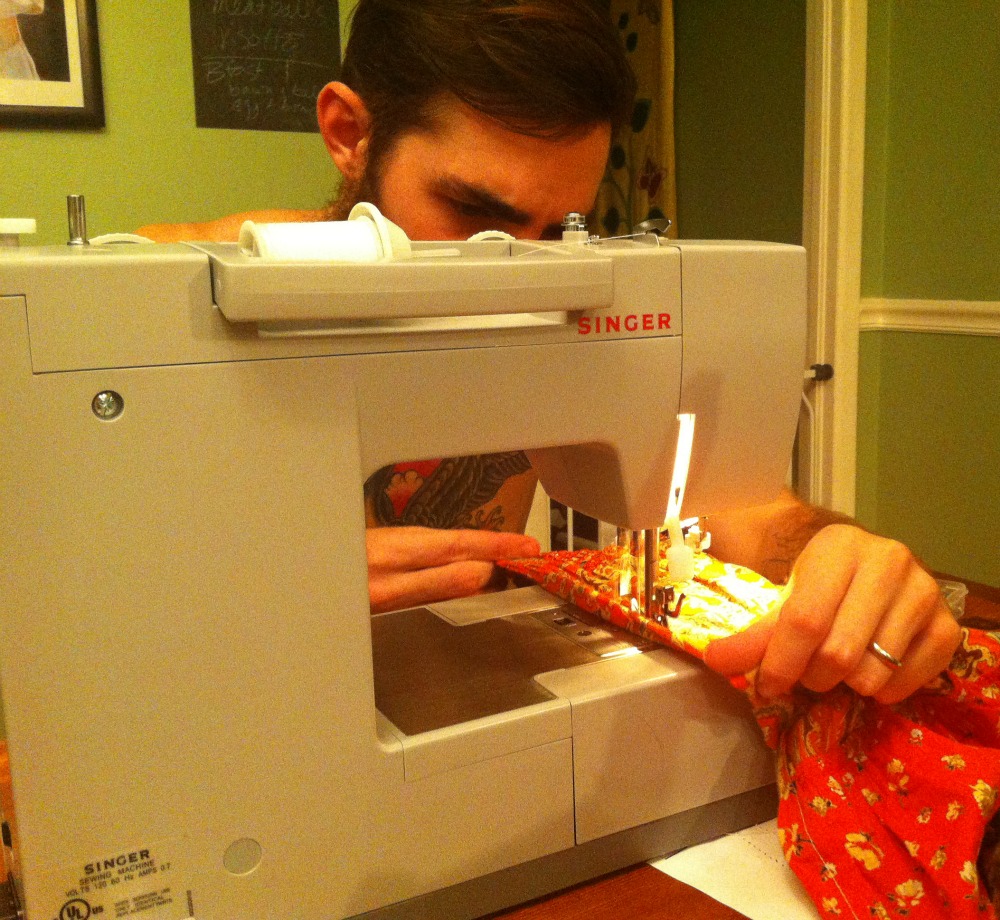
My lovely friend Nicole Bennett, blogger of Gidget Goes Home and creator of The Motherhood and Jane Austen Book Club, wrote a fantastic ebook on the basics of sewing--something I want to learn to do. It's called Sewing School 101: Simple Tips to Get You Stitching. I've been so excited to share the book with you, but...it's hard to vouch for a book on sewing when you know less than nothing … [Read more...]
Orange Pomanders: A Festive Kid-Friendly DIY
One of my favorite festive scents is the combination of orange and cloves. I made orange pomanders once or twice as a little girl and decided to share the experience with my 3-year-old this year since it's such a fun and kid-friendly activity. And because I have no crafting skill and they're so easy to make. Basically, an orange pomander is an orange decorated with whole cloves. They've been … [Read more...]
Surviving Summer: Icy Raspberry Tea Recipe
I love living in N. Florida. Truly. I love it. October through early May is dreamy. You can eat outside every night and avoid wintry inconveniences (AKA socks. I hate ‘em!). But by the time August rolls around, I’ve had it. I whine and cry and threaten to move. Here’s an easy little kid-friendly concoction that Benjamin and I whipped up last week that is helping us survive the misery of miseries … [Read more...]
DIY Bubble Tea
Ta Da! The perfect summer treat. And it's soooo easy to make, way cheaper than buying it (the tapioca pearls I bought were only $2 for a big bag), and no high fructose corn syrup or nasty stuff. I was a rather grumpy mama this morning after being up all night with poor teething Lucy (if Baby Girl only cuts one tooth from all this misery it will be absurd...I'm expecting 5 … [Read more...]